Tips for Restoring Your Wood Floors
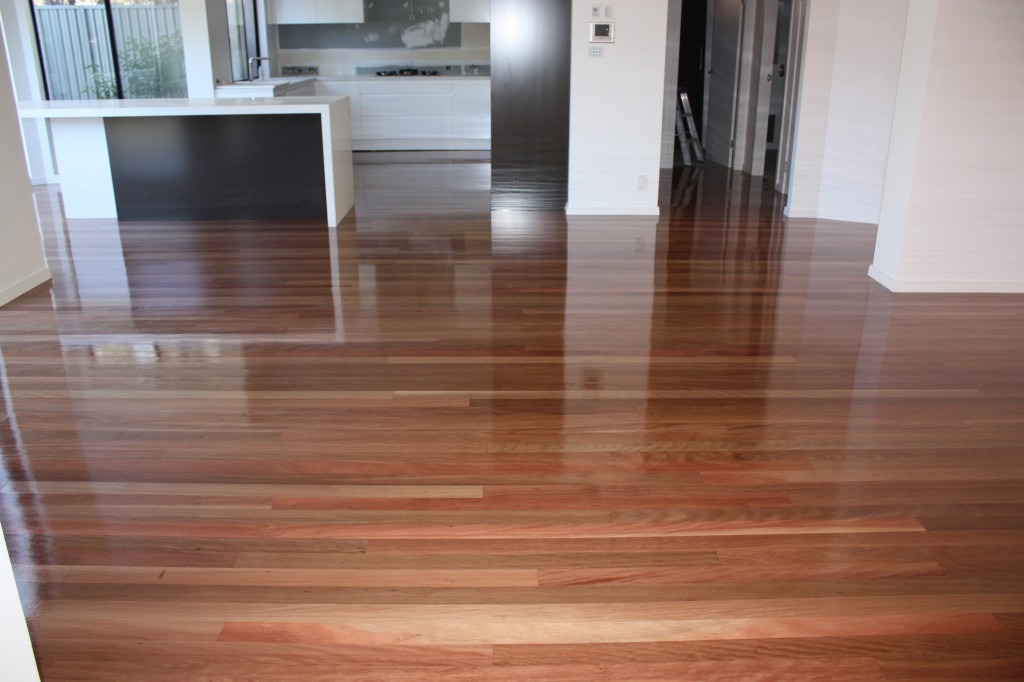
Hardwood floors have an incomparable beauty and they can add warmth and style to any room. Whether you have a traditional home with architectural details or a modern, industrial space, hardwoods fit right in. That’s why many homeowners even use hardwood floors in kitchens and bathrooms.
If you’re fortunate enough to have original hardwood floors, consider restoring their original beauty. Below are tips from two hardwood flooring experts to help.
Recoat or Refinish?
If your wood floors start to look dull, they can be renewed through recoating. “A maintenance coat involves cleaning the existing floor’s finish, then lightly sanding it,” explains Brett Miller, VP of Education & Certification for the National Wood Flooring Association (NWFA). “After that, you just need an application of a fresh new coat of wood floor finish.”
Miller recommends applying a new coat to your floors every three to five years. However, he says your maintenance schedule may depend on wear and tear, as well as your lifestyle.
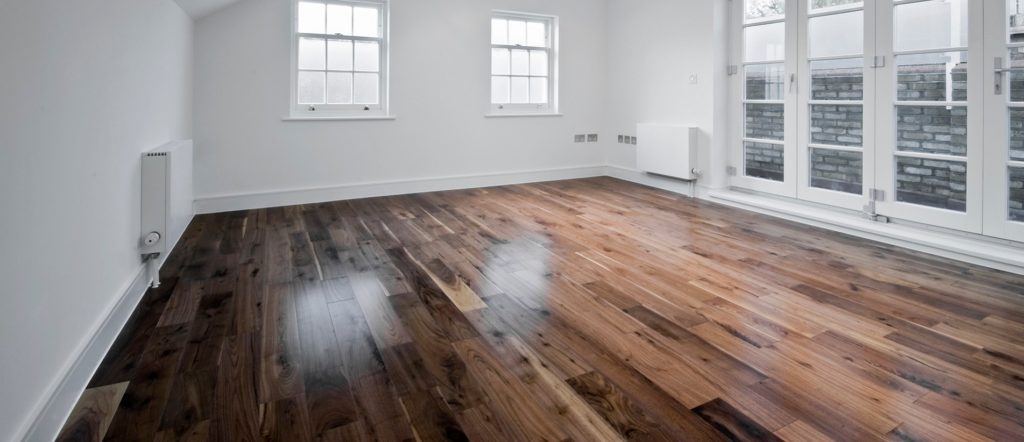
“However, a complete sand and refinish is recommended when there are deep scratches, dents and other flooring damage,” Miller explains. He also recommends this process if the finish is worn away and the bare wood is exposed. This may be the case if you purchase a fixer-upper home. And there’s another benefit to doing a complete sand and refinish. “Sanding a floor back to raw wood is the perfect opportunity to change the color of the floor,” Miller says.
Don’t Use the Wrong Equipment
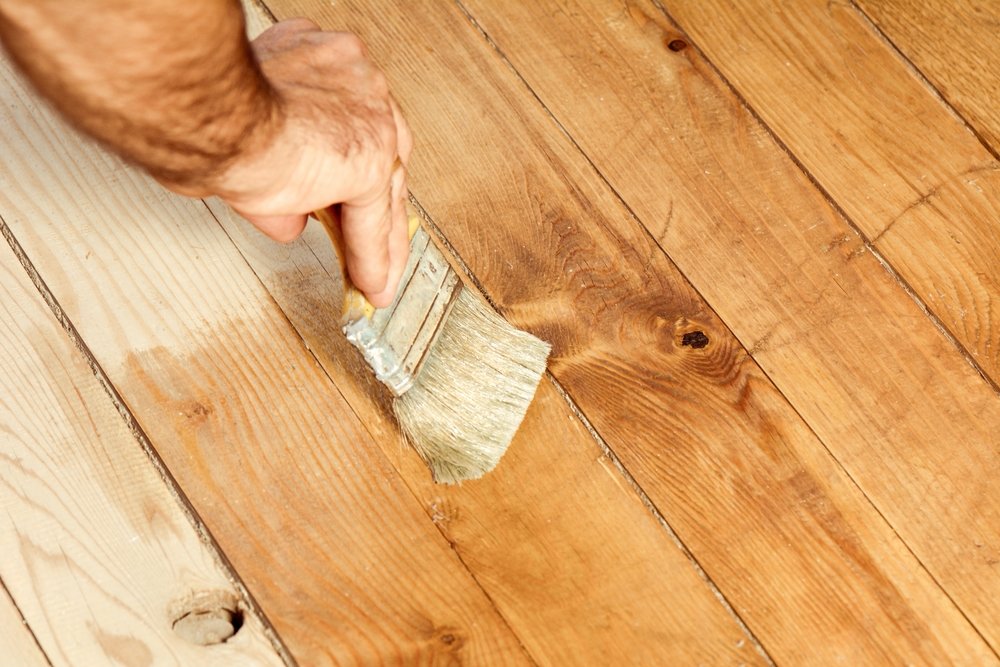
“Wood floor restoration starts with sanding the floor,” Kate Gailunas, Interior Designer and Owner of N-Hance Wood Refinishing, explains. “This strips away the previous finish and removes surface-level scuffs and scratches.”
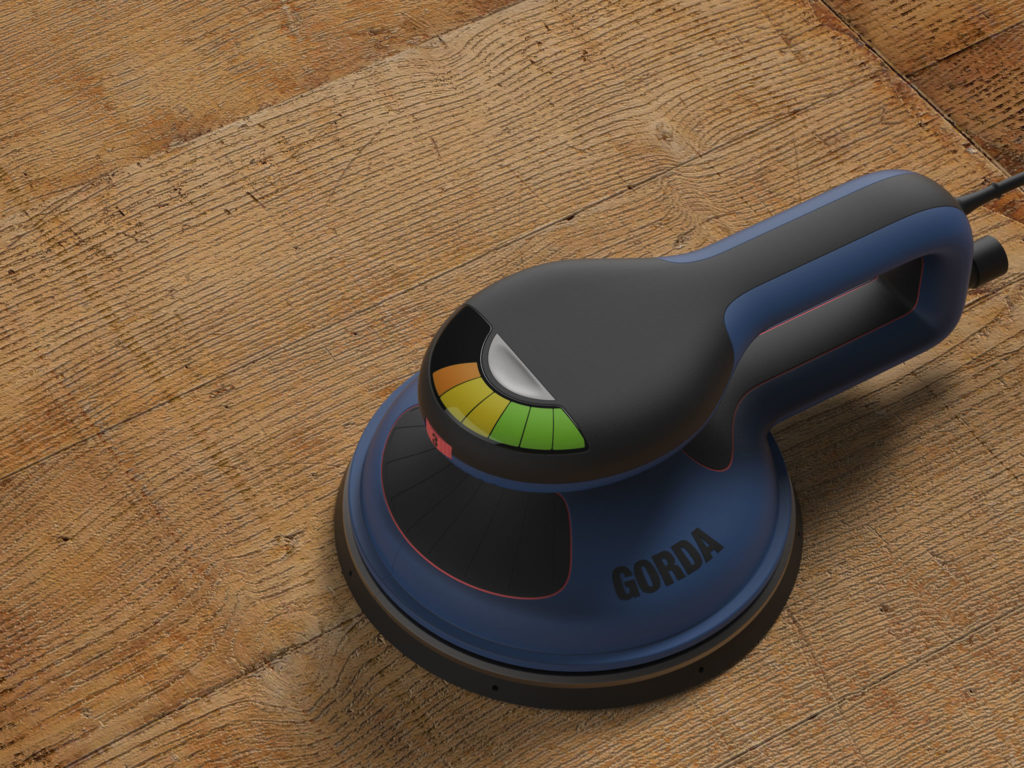
However, if you try to sand the floor with home power tools, she says you might sand the floors unevenly. And that’s the best-case scenario. Gailunas warns that you could also severely damage the wood. “Do it right — use a drum sander,” she advises.
Avoid Uneven Sanding
But even if you use a drum sander, there’s no guarantee that you won’t make mistakes if you’re not careful. “Under-sanding can leave spots of old stains or finish,” she says. “And then these areas are unsuitable for refinishing.”
And, there’s something even worse than under-sanding. “Over-sanding can lead to divots or scratches that only a professional can fix,” Gailunas says.
Be Aware of Improper Edging
Also, be advised that a drum sander cannot get close enough to your walls and baseboards to sand them. “To get these areas, you’ll need an edger,” Gailunas says. You’ll also need to be patient when using the edger. “Don’t rush these areas, because it results in a noticeable color/texture difference around the edge of the room with a higher risk of degradation,” she says.
Notice Lingering Wood Dust
The sanding process will create a lot of wood dust. “Keep this in mind when you’re applying the stain/finish to your floors,” Gailunas says. Thoroughly clean the floors first. “If you don’t, these particles will become embedded in the stain/finish,” she warns. “Vacuum up as much dust as possible, then give your entire room a detailed cleaning before applying any kind of stain/finish.”
Maintaining Your Wood Floors
Since wood is an organic material, Miller says that it will react to its environment. “In humid environments, wood gains moisture and can swell,” he explains. “In dry environments, wood loses moisture and can shrink.” If the environment changes, Miller says there will be changes in the floors themselves and how they perform.
For example, moisture can cause the floors to cup. This causes raised edges and lowered centers. “On the other hand, if your floors lose moisture, they can gap or split,” Miller says. “This can occur between floorboards or on the face of the boards.”
If these gaps and splits occur but then go away during seasonal changes, he says there’s no reason for concern. “However, if the gaps in your floors are large or do not close during more humid months, it’s time to call a professional.”